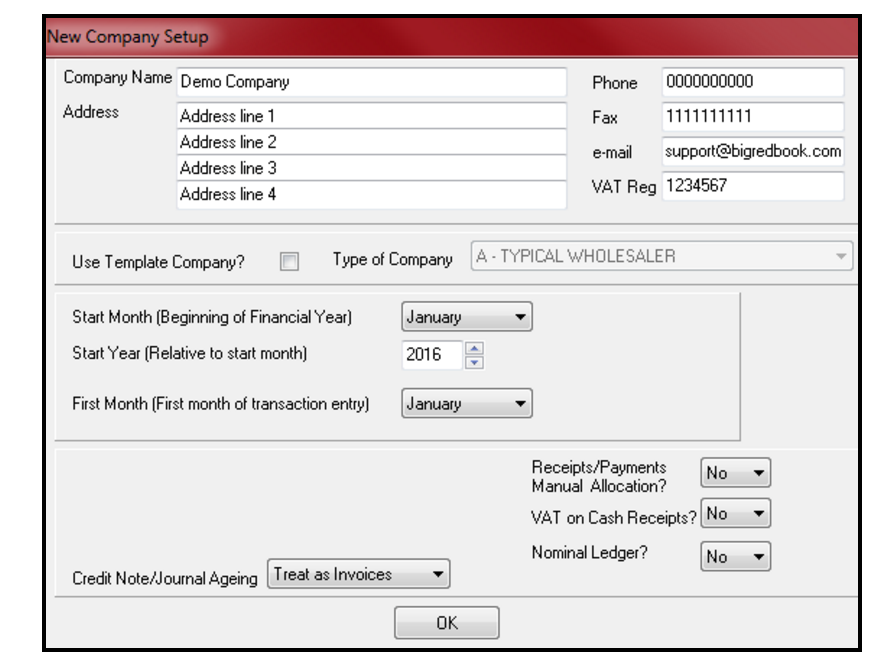
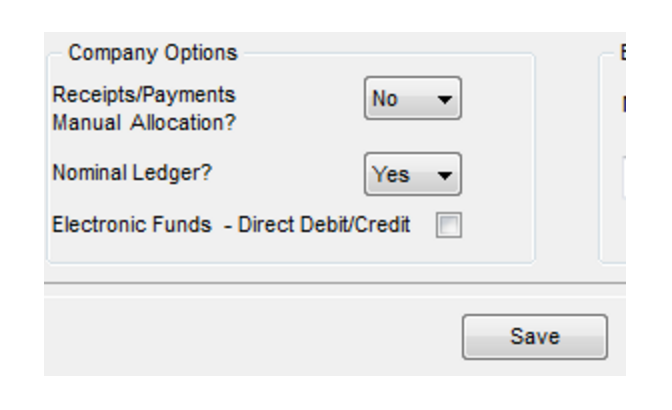
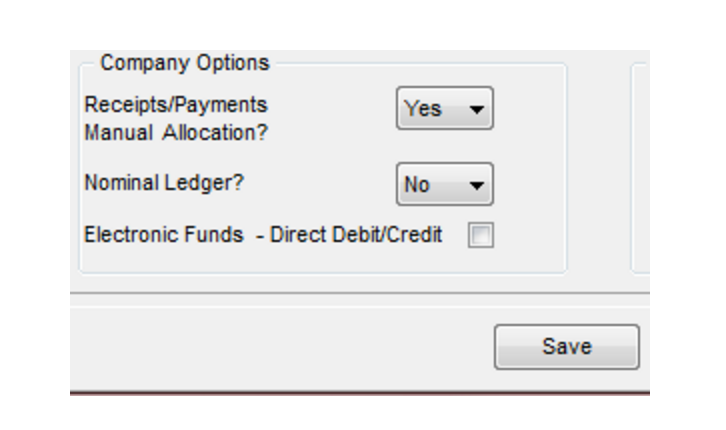
- Receipts/Payments Allocations: This is as ‘No’ as default (automatic allocation of customer/supplier receipts/payments). If you want to manually allocate customer/supplier receipts/payments to particular sales/purchases you should switch it to ‘Yes’. If you set it to ‘Yes’ you must manually allocate all customer/supplier transactions. Those that you do not (Or that you partially allocate) will be seen in BRB as unallocated/unpaid (or partially unallocated/unpaid).
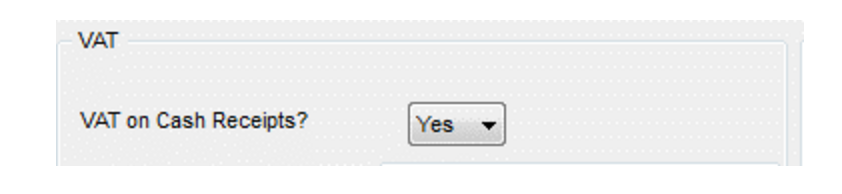
- VAT on Cash Receipts: If you use standard VAT (Vat on sales & purchases) leave it at ‘No’. If you are using VAT on cash receipts (VOCR), you can switch to ‘Yes’. You may need permission from Revenue to use VOCR. If you have Receipts/Payments Manual Allocations at ‘Yes’ it won’t allow you to set ‘Vat on Cash Receipts’ to ‘Yes’ also. But in that case you can get access the Vat on Cash Receipts report (Click ‘Alt’ & ‘F12’ later on the main screen).
- Nominal Ledger: Switch it to ‘Yes’ if you wish to use the nominal ledger & to have access to nominal reports such as the Trial Balance, Balance Sheet and Profit and Loss report.
- Once you are happy with the settings on ‘New Company Setup’ click ‘OK’ (or if it’s the ’Financial Year’/’Options’ screens, click ‘Save’).
2. Adding VAT Rates
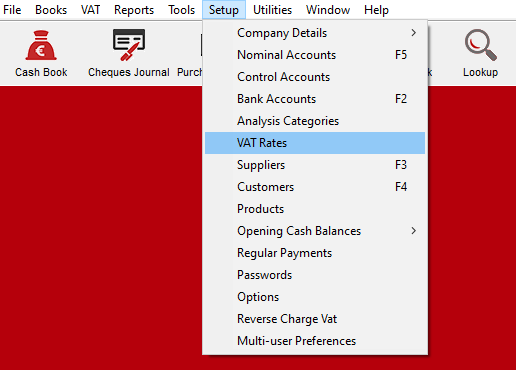
- Click ‘Setup’ – ‘Vat Rates’. Tick ‘Active’ beside Rate 1 & enter your first vat rate. Repeat this for any of the relevant columns ‘Purchases Not For Resale’ etc. If you have a second vat rate, tick active beside Rate 2 and so on. Click ‘Save’. You can tick ‘Default’ beside your most used Vat rate if you wish. It is important that you do not change or reorder VAT rates as this will affect any transactions you have already entered.
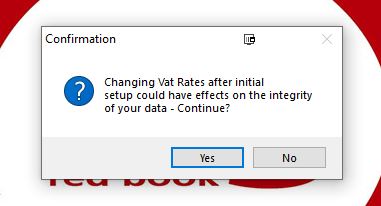
(when prompted, click YES to making the change)
In a new area/unused field, tick it as active, and entered the desired VAT rate. Do this for Sales, and Purchases for resale, and not for resale if desired.
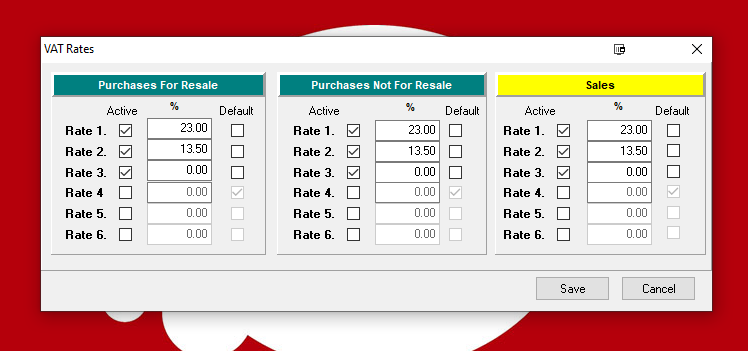
When you have your new rates entered, simply click on Save.

4. Adding Analysis Categories
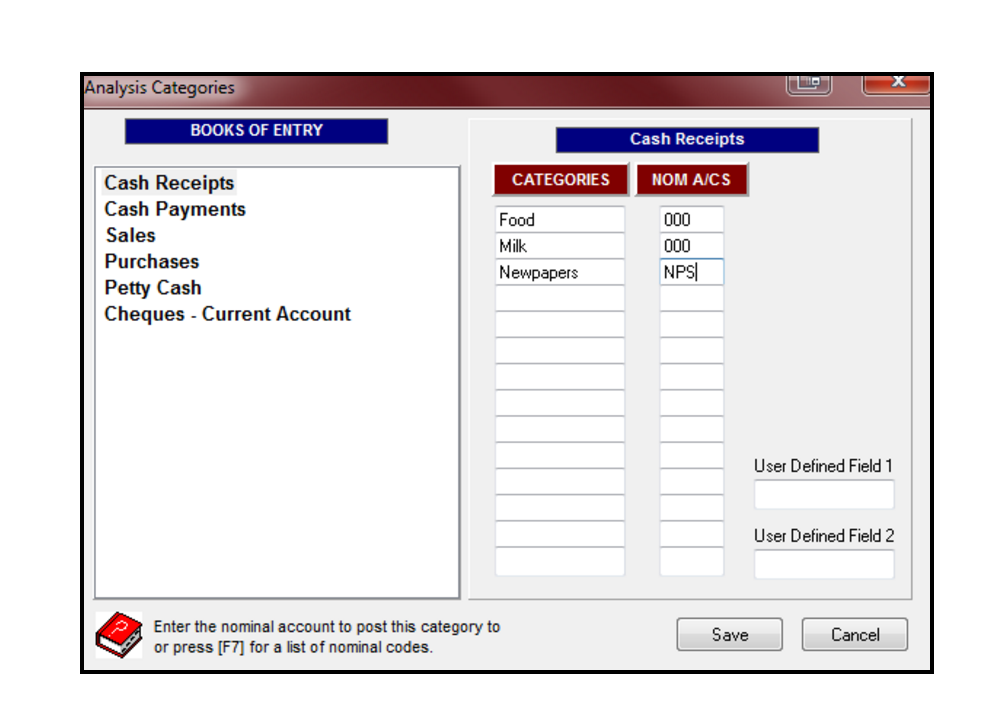
- Analysis Categories allow you when adding transactions (to books/banks accounts) to categorise them for reports. An example for the cash book for a shop would be (1) Food (2) Milk (3) Newspapers etc. For the cash book & cheques journal you only add categories for non-customer/non-supplier transactions. For the sales book you add categories for customer & non-customer transactions. For the purchases book you add categories for supplier & non-supplier transactions.
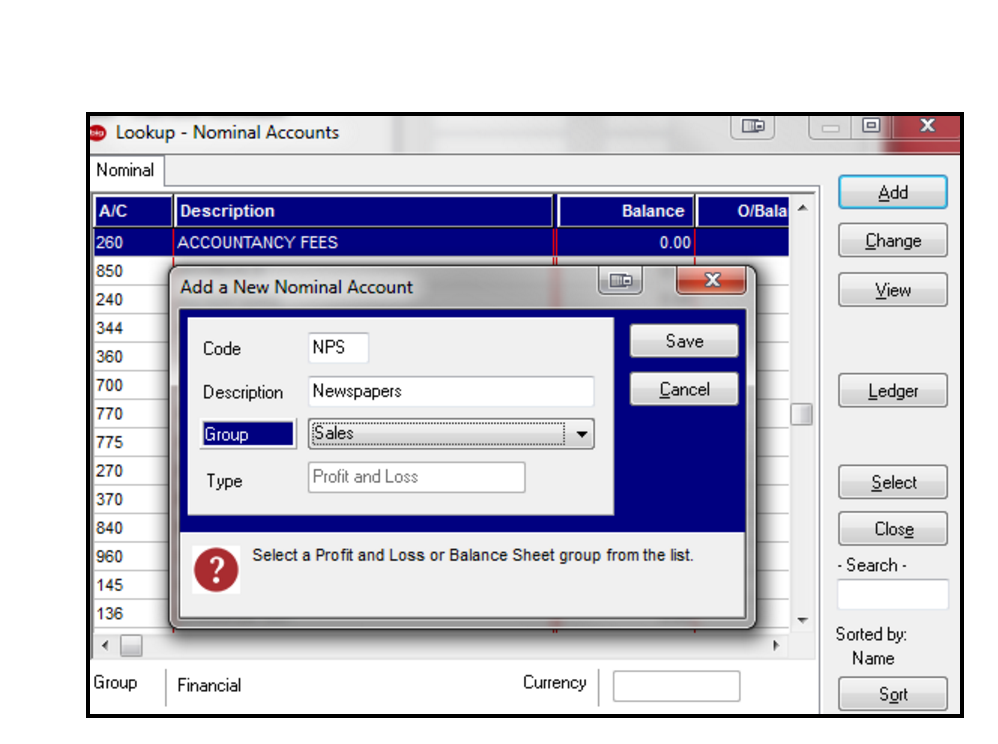
Click ‘Setup’ – ‘Analysis Categories’. Click ‘Yes’ (if that message shows). Choose the book/bank that you want to add the category(s) for & type the first category into the top most blank field under ‘Categories’. If you are using the nominal ledger, a column ‘Nom A/Cs’ will also show to the right of the category, in that case you must assign a nominal account to the category (Click ‘F7’ OR ‘Alt’ &‘F7’). This shows the list of current nominal accounts. You can choose the relevant one for that category or you can add a new nominal account & then select it for the category. You can assign the same nominal account to more than one category if you wish.
5. Add Customers and Suppliers
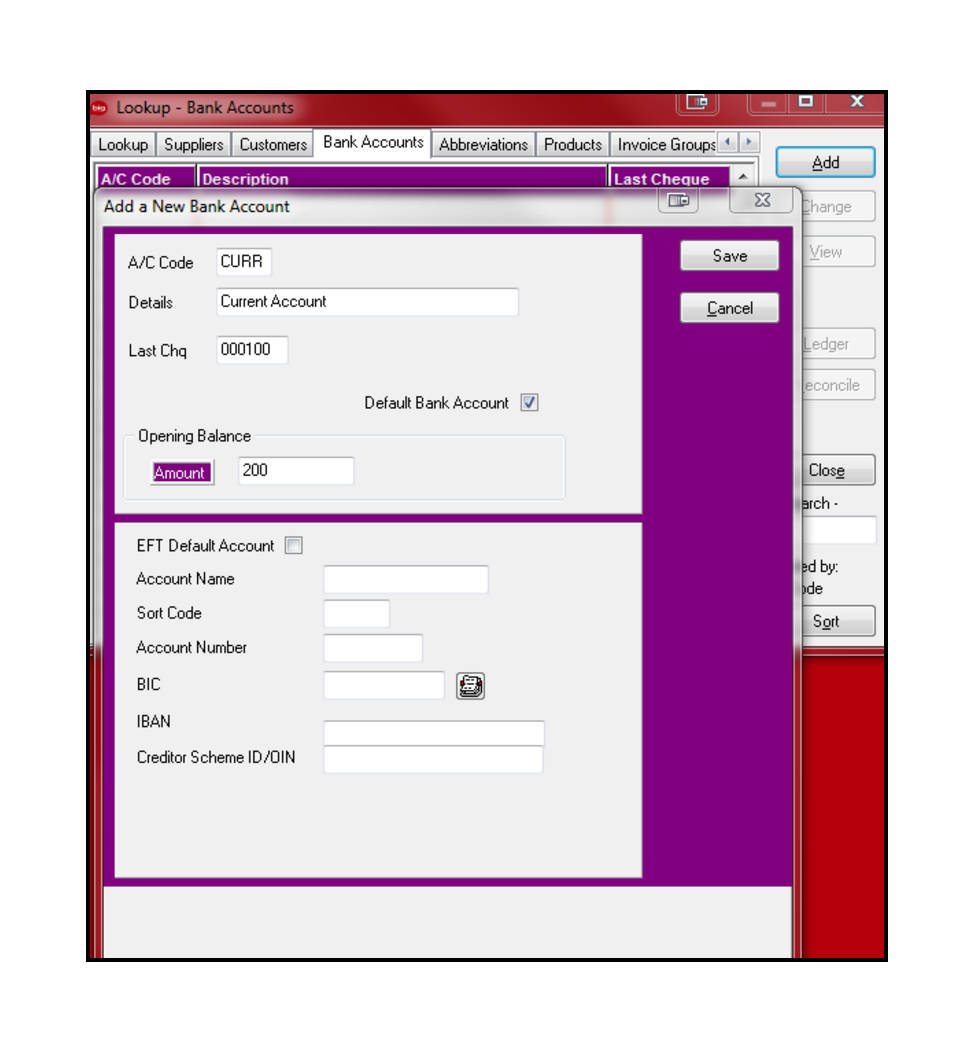
- You can add these in ‘Lookup’ or ‘Setup’ – ‘Customer’/’Suppliers’ – ‘Add’ – fill in a unique code for each & other relevant information e.g. address, mobile etc. The ‘O/Balance’ button allows you to enter their opening balance. Click ‘Save’ once you are happy with it all on the ‘Add a New Supplier’/’Add a New Customer’ screen. You can add another customer/supplier on the next blank screen that then shows OR click ‘Cancel’. The ‘Ledger’ button shows the debits, credits & balance (once there are there for them). You do not need to add all customer/suppliers at this point, you can add them as you go.
Additional setup/features you can use if and when you wish:
- Products: Add default products to speed up sales invoice entry.
- Electronic Funds Transfer: SEPA direct debit (customers) & direct credit (suppliers) files can be created.
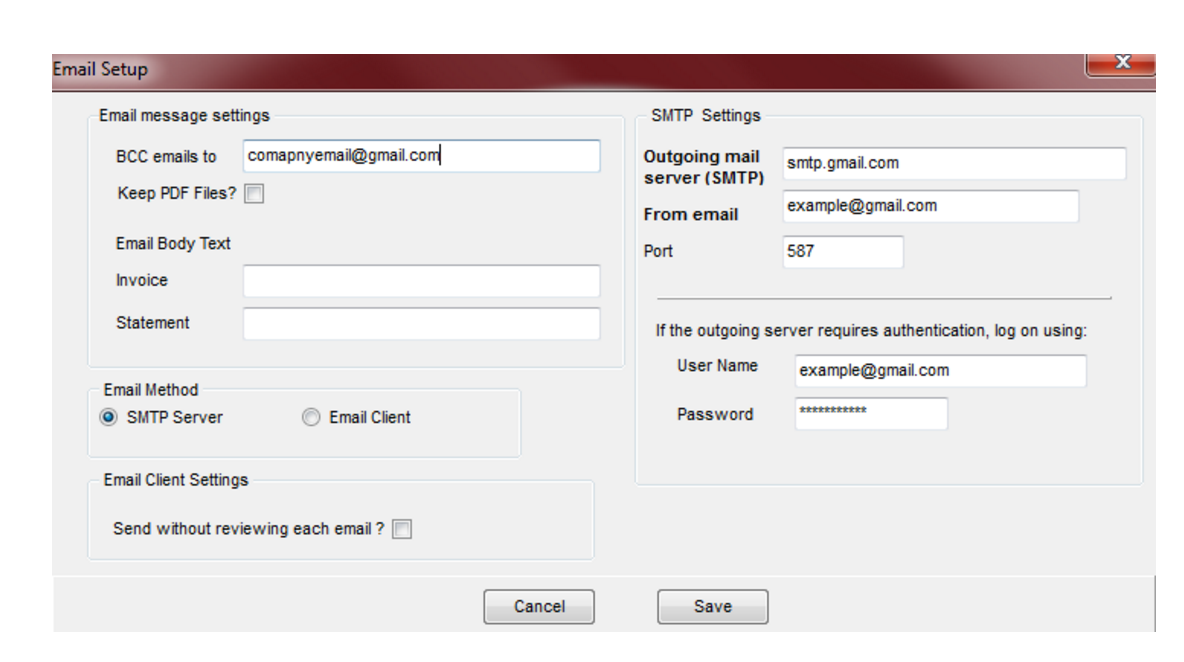
- Email Setup: Customer invoices and statements can be emailed.
- Opening Balances: Also for bank accounts, cash book & petty cash.
- Regular Payments: To speed up data entry.
- Passwords: For various areas.
- Multiuser Preferences: Entering your own transaction references.
- Form Design: Designing invoices, credit notes & statements.
- Period Control: preventing changes to certain months/books.
- Recurring Invoicing: To speed up data entry.
- Reports: For the books, nominal accounts & VAT.
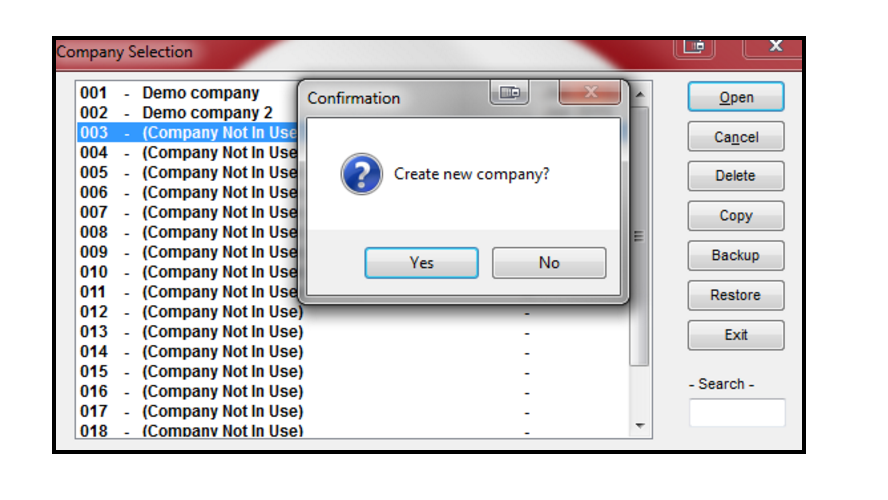
It is vital that you backup your BRB company(s) regularly to external devices i.e. CD, USB, External Hard drive. The backup button is on the ‘Company Selection’ screen. Highlight the relevant company, click ‘Backup’ & follow the onscreen prompts.